Photographing Art in Museums: Respect the Rules, Keep the Magic
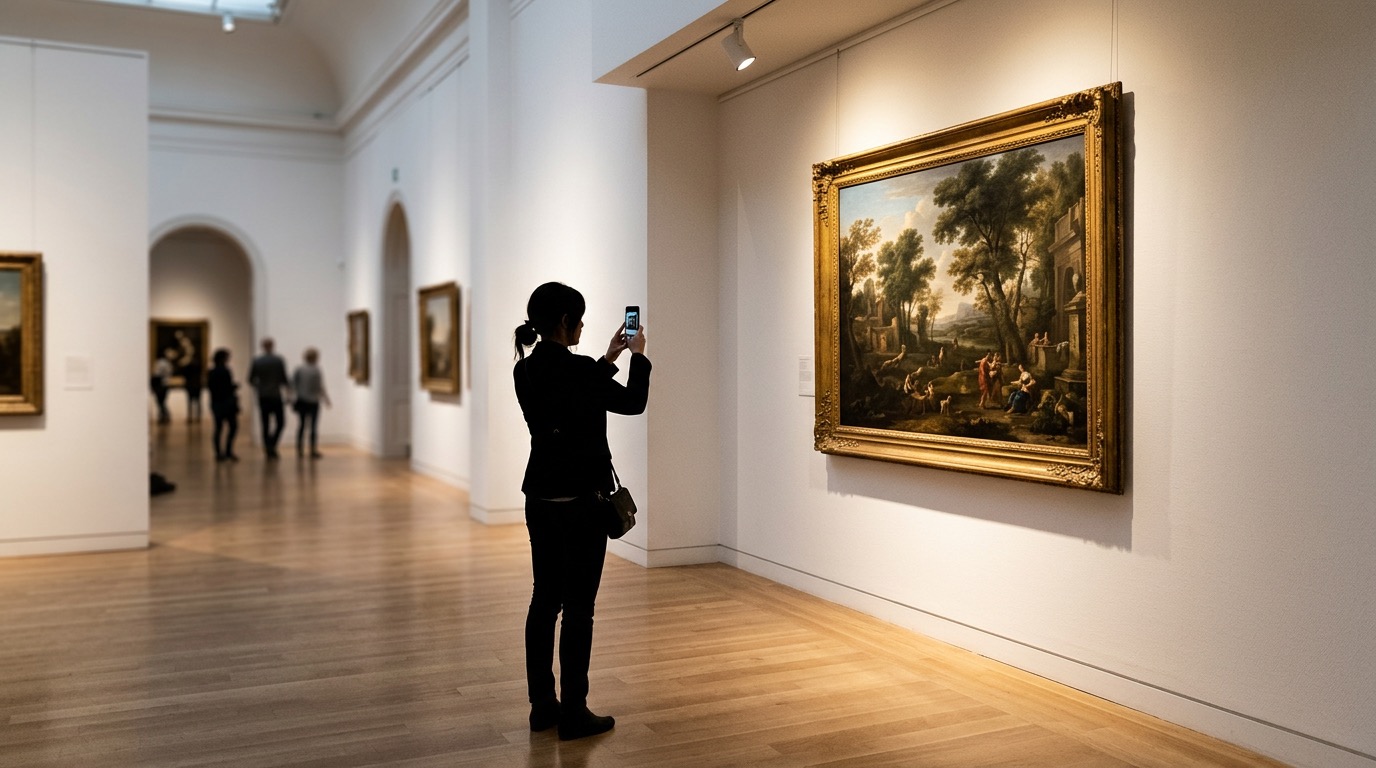
Some venues welcome phone photos; others ban them entirely—often to protect light-sensitive works or artist rights. Always check signage and staff guidance before raising your lens.
TL;DR
- Rules first; no photo is worth damaging trust (or pigment)
- When photos are OK: angle, glare, and people in frame
- When they are not: sketches, written notes, and official images
- How ArtLens can supplement what you cannot shoot
When photography is allowed
Reduce glare
- Stand slightly off-center from reflective varnish or glass
- Avoid flash—almost everywhere prohibits it
Composition
- Step back for context; move closer for texture (if permitted)
- Crop strangers respectfully; faces are not your subject
Technical basics
- Stabilize against a wall or use burst mode in dim rooms
- Lock exposure on the artwork, not the bright floor
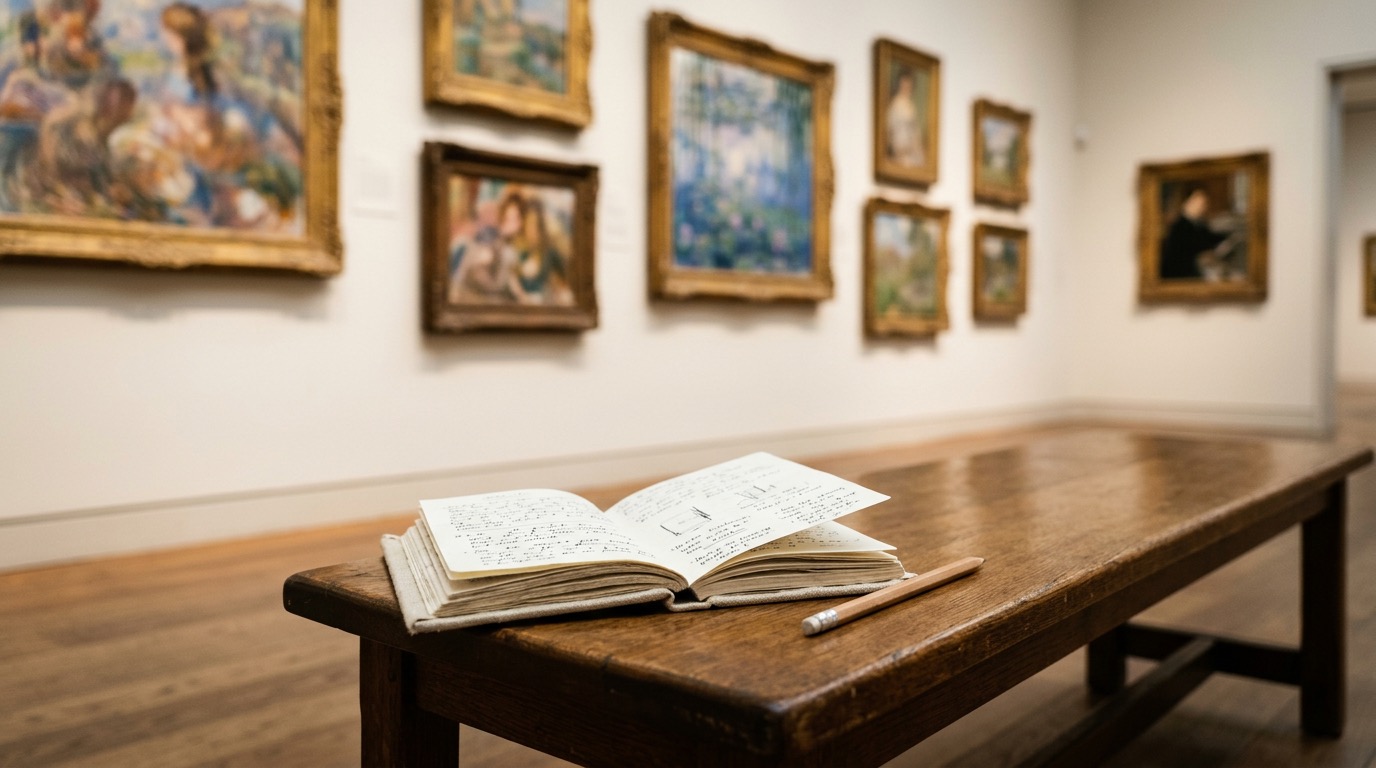
When photography is not allowed
- Write one line about color, scale, and mood.
- Sketch badly on purpose—it still trains observation.
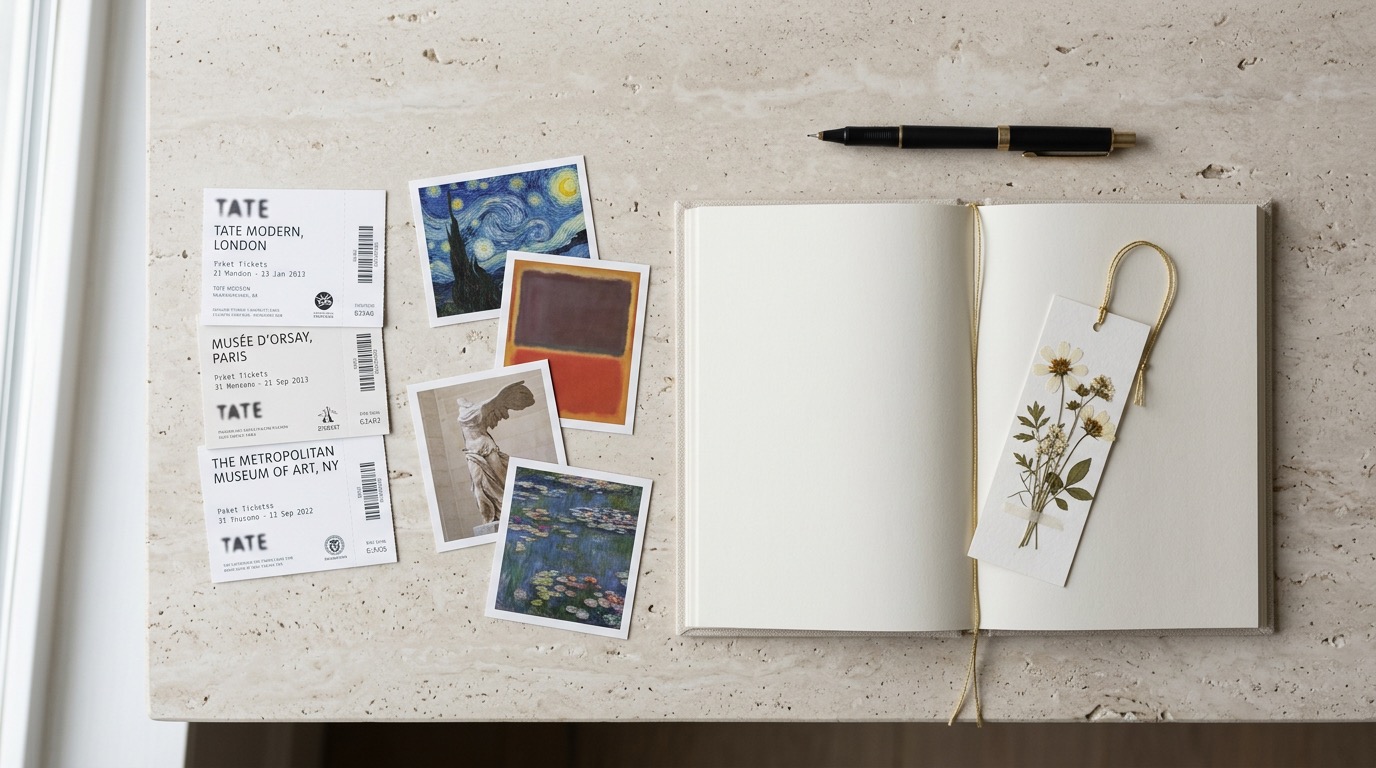
- Buy the exhibition catalog or download the museum’s approved press images for reference at home.
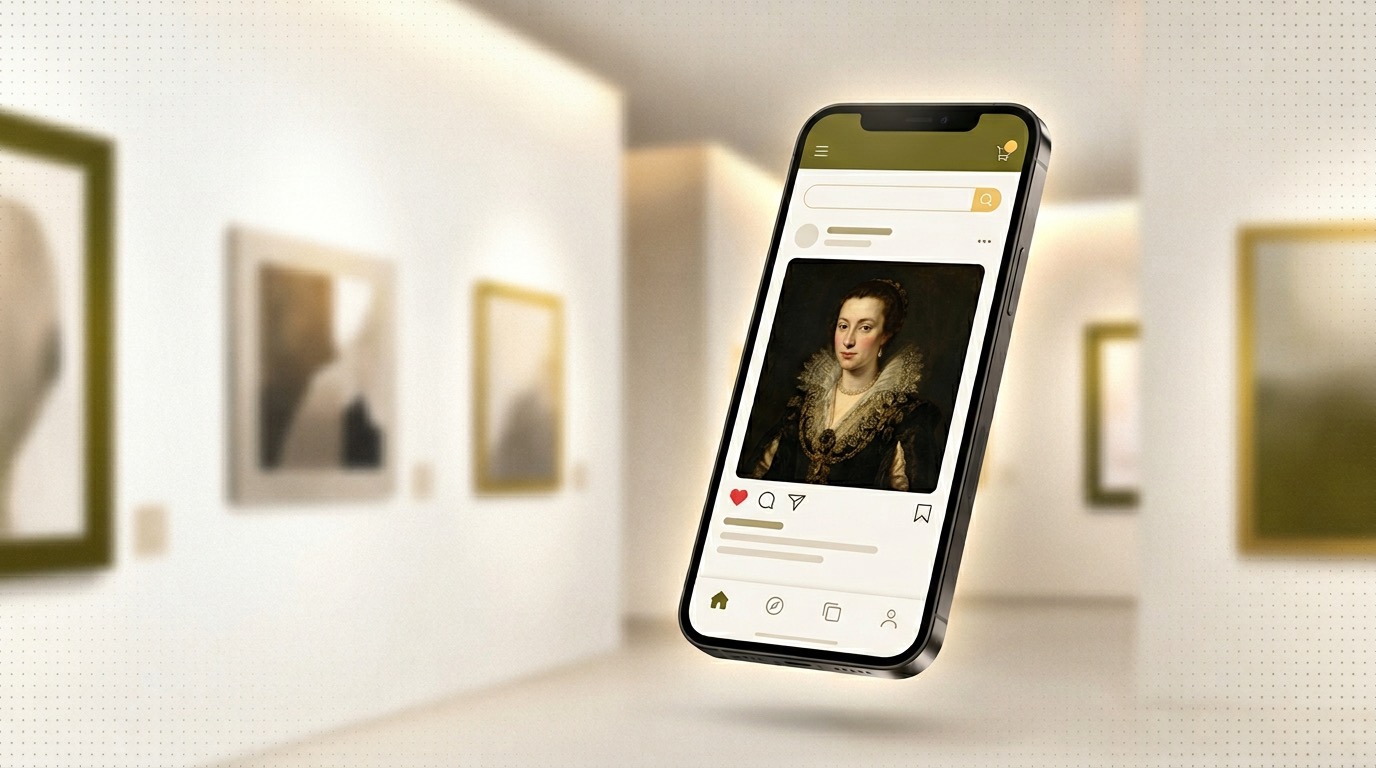
ArtLens without the shutter guilt
Where institutions allow personal imaging, you may still prefer not to spend the whole visit behind glass. ArtLens can help you identify a work and retain curated context so your memory is not only a JPEG—it is tied to story, date, and movement.
Conclusion
The best museum photo is the one that respects the art and the people around you. When in doubt, put the phone away and look longer; your journal can carry what the camera cannot.
Explore ArtLens on the App Store—your pocket companion for context after the visit.
Last updated: March 1, 2026